StarterBeginnerWild YeastFermentation
How to Make a Sourdough Starter From Scratch
9 min read
Beginner
A 7-day, day-by-day guide to making a sourdough starter from scratch with just flour and water. No yeast, no shortcuts, real bubbles.
 ArtisanCrust
You stir flour and water in a jar, set it on the counter, and wait. Day one: nothing. Day two: a riot of bubbles, and you think you've nailed it. Day three: dead flat, smelling faintly of socks, and you're sure you've killed it. You haven't. You've just met the most misunderstood week in all of baking.
A sourdough starter is a tiny ecosystem you farm. It's a living paste of flour and water where two kinds of microbe move in, settle down, and start working for you. Get them happy and they'll leaven every loaf you bake for the rest of your life. People keep starters going for decades.
The two tenants matter, so meet them now. Wild Yeast (mostly Saccharomyces and Kazachstania strains) eats the sugars in flour and burps out CO₂. That gas is what makes bread rise. The other tenant is a crowd of Lactic Acid Bacteria (LAB), led by the famous Lactobacillus sanfranciscensis. The LAB produce lactic and acetic acid, which is where the sour comes from.
Here's the part nobody tells beginners: you are not adding these organisms. They're already here. They live on the bran of the flour and drift in your kitchen air. Your whole job for seven days is to give them food and a comfortable home until they outnumber everything else in the jar.
Start with whole grain. Whole rye is the rocket fuel of starters, with whole wheat a close second. The bran carries the most wild yeast, the most minerals, and the most enzyme activity, so a rye-fed jar tends to bubble a full day earlier than one fed white flour. After the first three or four days, you can taper to mostly white bread flour, which gives a cleaner, more predictable rise.
Water is simpler, with one trap. Use filtered or bottled water if your tap water is heavily chlorinated, because chlorine is designed to kill exactly the microbes you're trying to grow. If you only have chlorinated tap water, leave it uncovered overnight and the chlorine gasses off on its own. Keep the water lukewarm, around 26–28 °C, never hot enough to hurt the yeast.
Skip the gimmicks. You don't need pineapple juice, grapes, or a spoonful of commercial yeast. Those tricks either mask the real culture or solve a problem you don't have. Flour, water, time, warmth. That's the entire shopping list, and after about fifty starters built in the same kitchen, I've never once needed more than those four things.
Keep a 1:1:1 routine by weight once you're feeding daily: equal parts existing starter, fresh flour, and water. A clean ratio to start is 50 g flour and 50 g water. Use a clear jar, mark the level with a rubber band, and aim for a warm spot at 24–28 °C. Higher is faster.
Day 1. Mix 50 g whole rye or whole wheat with 50 g lukewarm water to a thick paste. Cover loosely and walk away for 24 hours. You'll see nothing. That's correct.
Day 2. This is the trap. You may see a burst of bubbles and a sharp, almost cheesy smell. It looks like victory. It isn't. That early eruption is mostly Leuconostoc and other bacteria having a brief party, not your wild yeast. Stir it down, discard half, and feed 50 g flour + 50 g water.
Day 3. Often the quietest, most demoralizing day. The day-2 bubbles have collapsed, the surface looks flat, and the smell turns slightly funky. Hold the line. The bacterial bloom is dying off and the acidity is climbing, clearing the stage for the real performers. Discard half, feed again.
Day 4. The handoff. You may catch the first true wild-yeast bubbles, smaller and more even than the day-2 chaos. The smell shifts from sour-funk toward something brighter, almost yeasty or apple-like. Switch your feed to roughly half white bread flour, half whole grain if you like. Discard half, feed.
Day 5. Now it's a starter, just a shy one. Expect a modest, even rise over several hours. The aroma is clean and tangy. Keep the discard-and-feed rhythm steady, ideally at the same time each day, because consistency is what trains the culture's clock.
Day 6. Watch the rubber band. You're looking for the starter to climb and then deflate on a roughly daily cycle. If it's doubling within 6 to 8 hours of a feed, you're nearly there. If not, give it another day or two in a warmer spot. No drama.
Day 7. Test it. A healthy day-7 starter, fed in the morning, should double by early afternoon, dome on top, and smell like tangy yogurt. Run the float test (next section). If it passes, you can bake. If it doesn't, you keep feeding. A starter that needs ten or fourteen days isn't a failure. It's just slow, and slow is allowed.
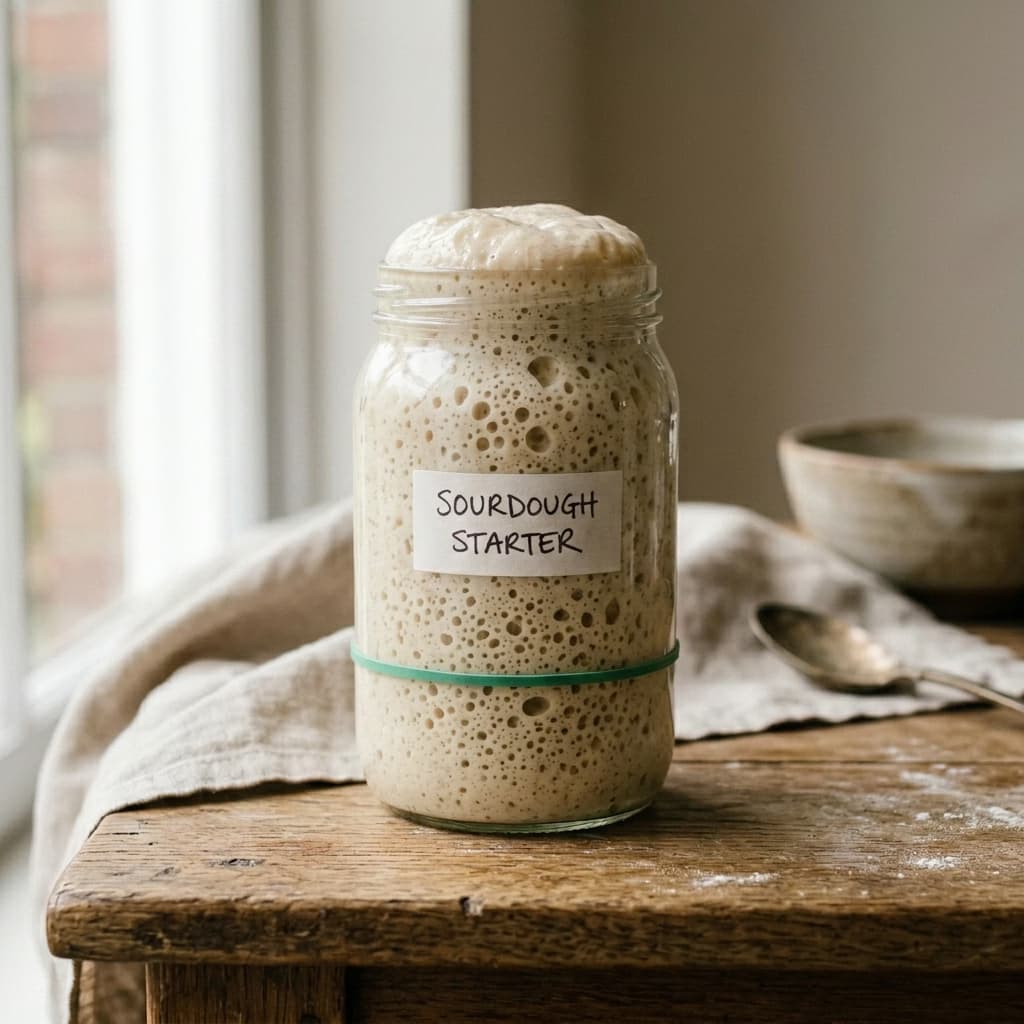
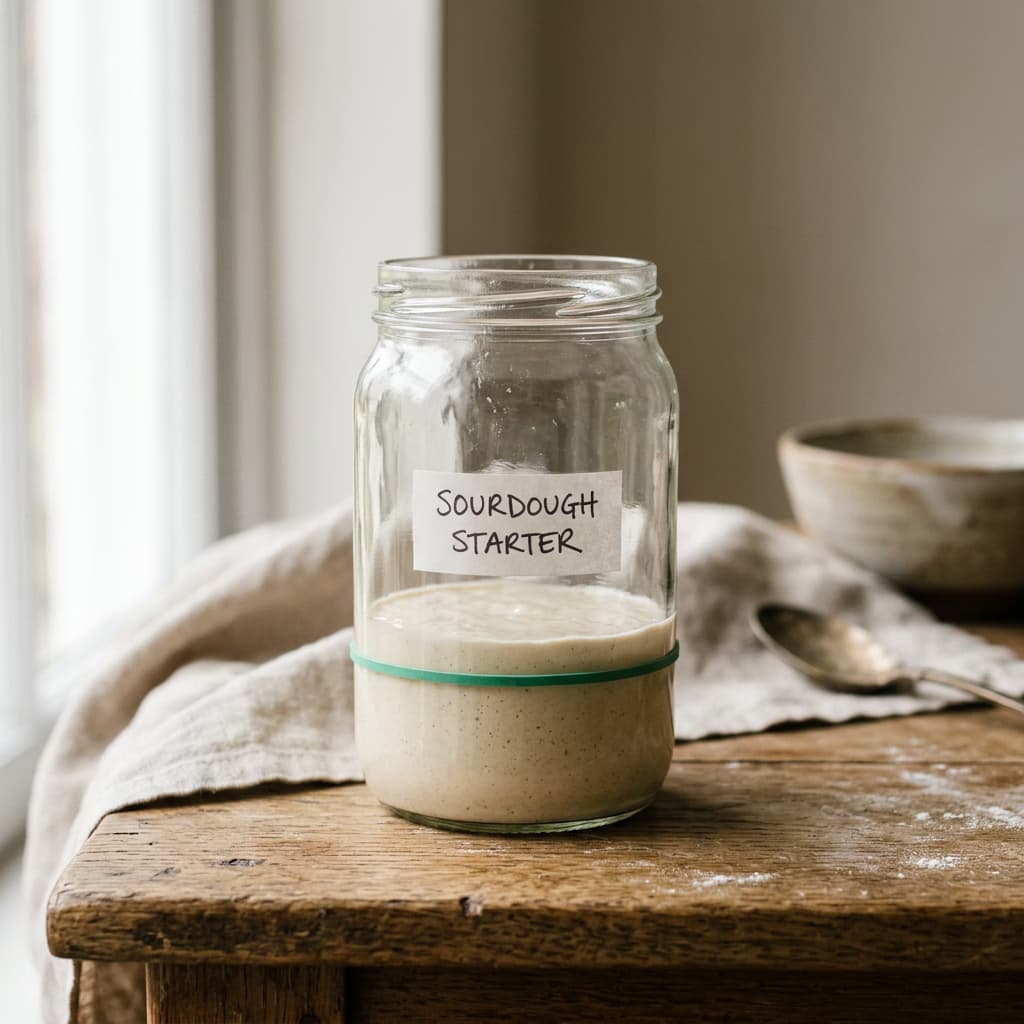 Just fed
The float test is your fastest readiness check. At what looks like peak rise, drop a teaspoon of starter into a glass of room-temperature water. If it floats, it's loaded with CO₂ and ready to leaven dough. If it sinks, give it more time or another feed. Treat it as a green light, not a verdict, because a stiff or rye-heavy starter can be perfectly active and still sink.
A thin gray or brownish liquid on top is hooch, and it's not a problem, it's a message. Hooch is alcohol the yeast produced, and it means your starter is hungry. Pour it off or stir it in (stirring makes a slightly tangier loaf), then feed. If hooch keeps appearing, feed more often or use a touch more flour.
Now the only line that actually matters for safety. Normal smells range from sour and tangy to sharply acetic, like vinegar or nail polish. Those are all fine. Mold is not. Mold appears as fuzzy spots, usually pink, orange, green, or black, raised above the surface like something growing in a forgotten fridge. If you see fuzz, throw the whole thing out and start over. Don't negotiate with mold. The acidity in a healthy starter almost always prevents it, which is why feeding on schedule is your best defense.
Once your starter doubles reliably and floats, you're ready to leave the lab and head to the bench. Here's the routine that takes you from day 7 to your first loaf:
Try baking the Classic Country Loaf to see these principles in action.
Use science in your kitchen! Calculate the exact proportions for your test dough in the Lab.
Making a starter isn't really about flour and water, it's about learning to trust a process you can't fully see. The jar will scare you on day 3 and amaze you on day 6, and somewhere in that week you stop following instructions and start reading a living thing. Feed it, watch it, and let the wild do its work. Every great loaf you'll ever bake begins in that small, bubbling jar.
Look for visual cues: the dough has increased by about 30-50% in volume, the edges are domed against the bowl, and it "jiggles" elastically when shaken. Tiny air bubbles should be visible just under the surface.
Bacteria produce too much acid, which begins to break down the gluten network. The dough loses its structural integrity, becomes sticky, and will "pancake" in the oven instead of showing a strong oven spring.
Higher temperatures favor lactic acid bacteria but also accelerate acetic acid production if the starter over-matures. In the heat, the fermentation "gas pedal" is floored, making it easier to overshoot the optimal flavor profile.